Creating a design
This topic shows you how to place and wire the components for the Multisim Live tutorial.
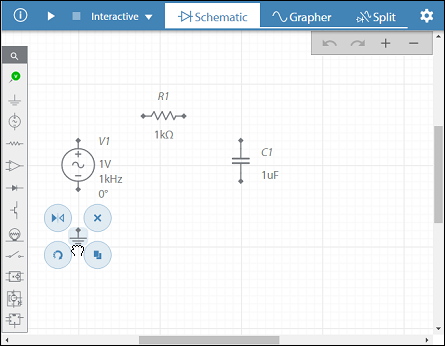
Place the components
- Tap the Source subpalette and tap AC Voltage and tap on the workspace.

Tip
You can also drag an AC Voltage component from the Source subpalette and tap on the workspace.
Because the default component for this subpalette is the AC Voltage source, there is no need to open the Source subpalette.
Or
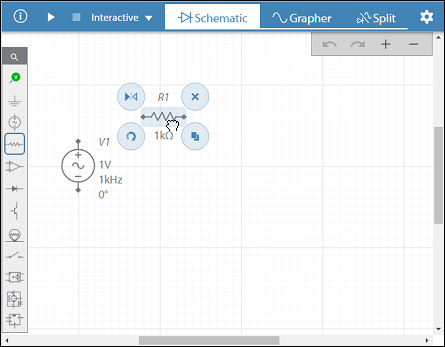
Type V if you are using a device with a keyboard, and tap to place the source. - Place a resistor by dragging from the Passive subpalette.
Or
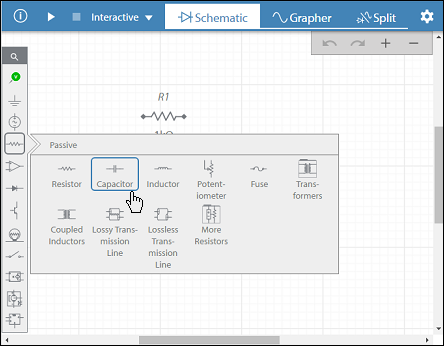
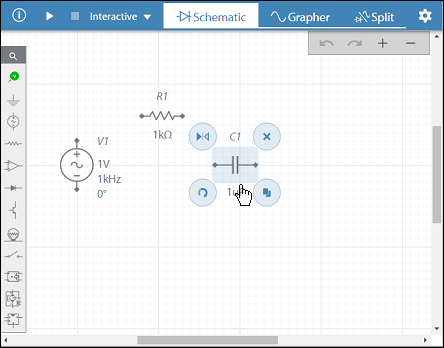
Type R if you are using a device with a keyboard, and tap to place the resistor. - Place a capacitor.
Or
Type C if you are using a device with a keyboard, and tap to place the capacitor. - Tap
 to rotate the capacitor.
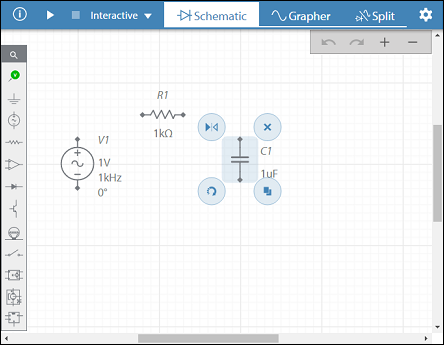
Tip
You can also rotate a component 90o while it is being placed, by pressing Shift + R on your keyboard. - Place a ground connector by dragging from the Schematic Connectors subpalette.
Or
Type G if you are using a device with a keyboard, and tap to place the ground connector.
Wire the components
- Tap a component's wiring point (black diamond) and tap another wiring point.
- The connection is automatically made, and the new wire is selected.
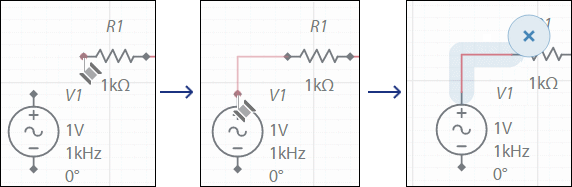
Zoom in and pan as required while wiring. - Wire the rest of the components as shown below.
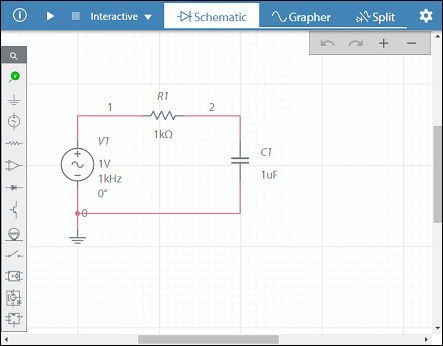
Refer to Wiring for more information.
Save the design
- Tap
 in the title bar and select Save as.
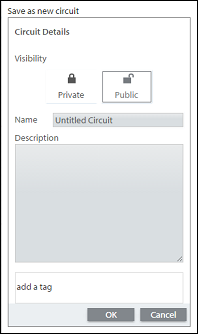
- Enter "RC filter" in the Name field. You may also wish to select Private so that your tutorial will not be able to be viewed by others.
- Tap OK.
The title bar reflects the change.
Continue to Simulating a design.